
Choosing the right web hosting provider is the first crucial step in building your online presence. Hostinger is a popular choice for its affordability and reliable services. In this guide, we’ll walk you through the process of buy hosting in Hostinger, ensuring a smooth start to your online journey.
This is step by step process to buy hosting in hostinger
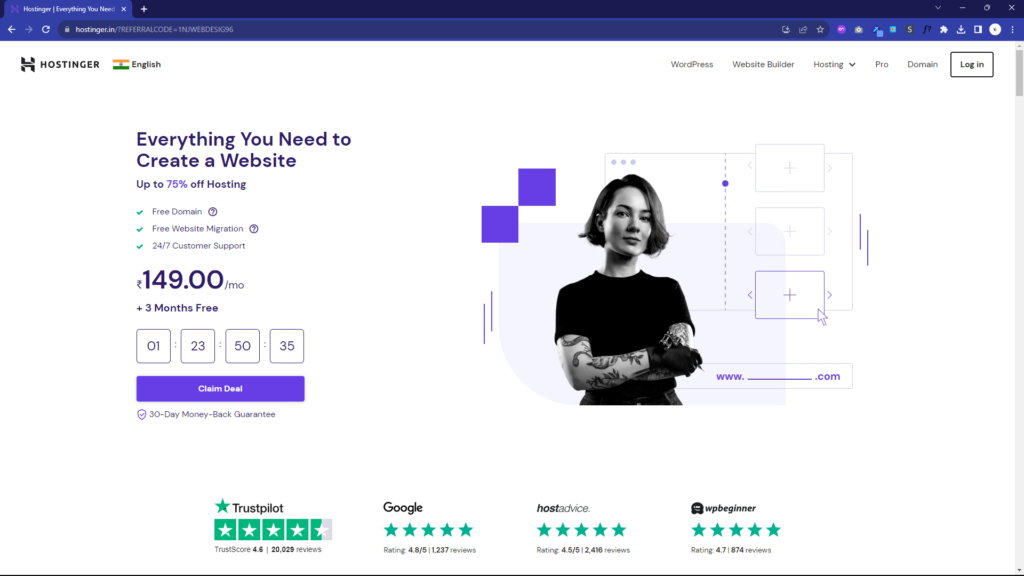
Step 1: Visit the Hostinger Website
- Open your preferred web browser.
- Type “https://www.hostinger.in/?REFERRALCODE=NJWEBDESIGNING” into the address bar and press Enter. (This link will give you 20% Discount for your Hosting Plan)
- You’ll land on Hostinger’s homepage.
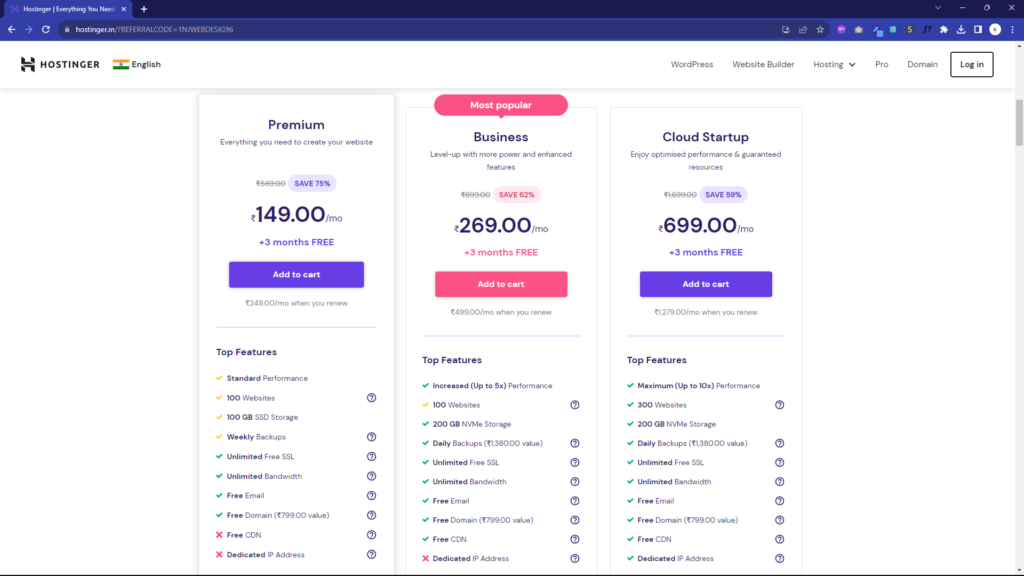
Step 2: Select Your Hosting Plan
- On Hostinger’s homepage,Scroll Down you’ll find various hosting plans. Choose the one that best suits your needs (e.g., Shared Hosting, WordPress Hosting, or VPS Hosting). – I Recommend Premium Plan
- Click on the “See Plans” button under your selected hosting type to view available plans.
- And then click “Add to cart” Button.
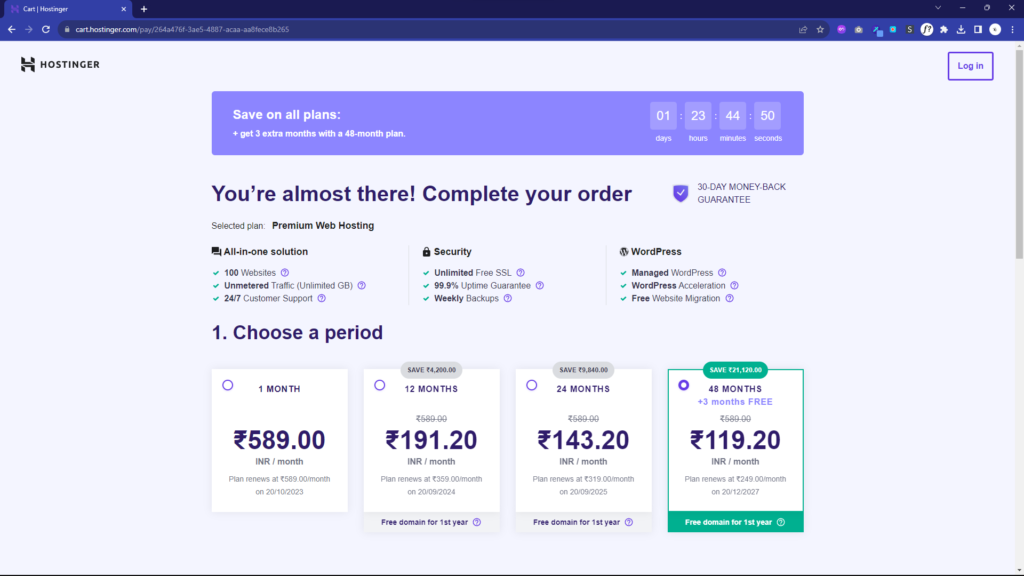
Step 3: Review Your Order
- After selecting a hosting plan, you’ll be directed to the order summary page. Review your chosen plan, domain (if registered), and billing cycle (e.g., monthly, yearly).
- Hostinger often offers discounts for longer billing cycles, so consider choosing a longer-term plan to save money. I prefer 48 months plan.
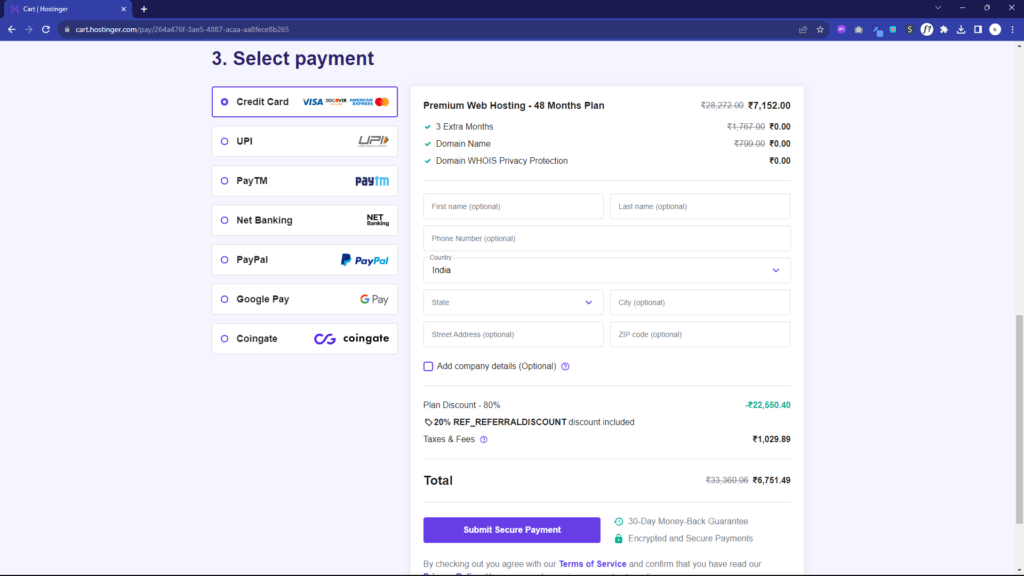
Step 4: Complete the Order
- Click the “Checkout Now” button to proceed to the next step.
- You’ll be prompted to create an account if you don’t already have one. Provide your email, create a password, and fill in your personal details.
- Choose your preferred payment method (credit/debit card, PayPal, or other options depending on your location).
- Enter your payment details and billing information.
- Review the terms and conditions, and check the box to confirm your agreement.
- Click the “Pay Now” or “Submit Secure payment” button to finalize your order.
Step 5: Access Your Hosting Control Panel
- Once your payment is processed successfully, you’ll receive a confirmation email from Hostinger. This email will contain important information, including your hosting account details.
- Log in to your Hostinger account using the credentials you just created.
- In your Hostinger dashboard, you can access your hosting control panel (usually cPanel) to manage your website, files, databases, and more.
Congratulations! You’ve successfully purchased hosting from Hostinger and taken the first steps in establishing your online presence. Hostinger offers a range of resources and support to help you make the most of your hosting plan, so don’t hesitate to explore their knowledge base and reach out for assistance as needed. Happy website building!
Don’t forget to use this link to get 20% Discount
https://www.hostinger.in/?REFERRALCODE=NJWEBDESIGNING
if Sometimes the link doesn’t work first signup or sign in with your account and then click this link to avail the Discount
Note : This my recommended platform to buy hosting in Hostinger. You may search across different hosting providers and you may select you own.
Thank you
